
BeamNG.drive is known for its realistic driving physics and huge modding community. Installing mods is a simple way to expand your game with new cars, maps, and gameplay features. This guide explains step by step how to install mods in BeamNG.drive so you can enjoy all the additional content created by the community.
Methods of Installing Mods
There are two main ways to install mods: through the in-game repository or manually by adding downloaded files. Both methods are safe and supported by the game.
Installing Mods via Repository
The easiest way to install mods is directly from the in-game mod repository:
- Launch BeamNG.drive.
- Open the main menu and go to the “Repository” section.
- Browse or search for mods you want to install.
- Click “Subscribe” to download and activate the mod automatically.
- Restart the game if needed.
Installing Mods Manually
If you download mods from third-party sites, you need to add them manually:
- Download the mod file, usually in
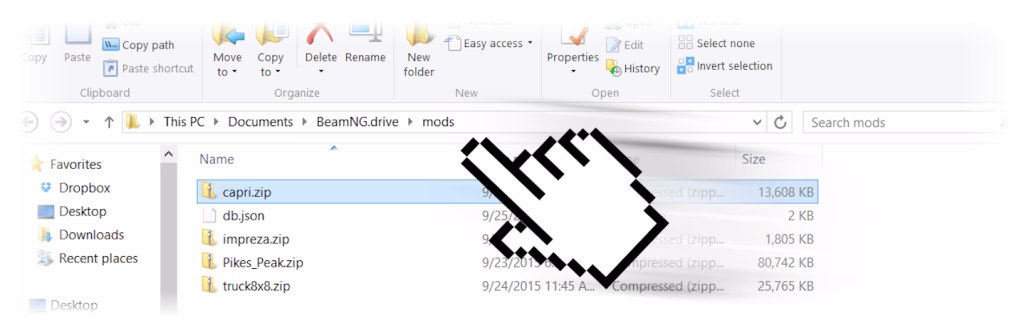
.zipformat. - Open your Documents folder, then navigate to
BeamNG.drive\mods. - Place the
.zipfile directly into themodsfolder without extracting it. - Start the game and the mod will load automatically.
Tips for Managing Mods
- Keep mods updated to avoid crashes or performance issues.
- Remove outdated or broken mods by deleting them from the
modsfolder. - Avoid downloading mods from untrusted sources to keep your game safe.
By following these steps, you can easily install and manage mods in BeamNG.drive, giving yourself access to endless new experiences.